Construction Site for the 1/96 Scale Saturn V
Construction Site for the 1/96 Scale Saturn V
Welcome to the Saturn V Clinic Construction Pages We're going to walk through the basic build of the replacement parts for a true 1/96 scale Saturn V-Apollo spacecraft stack. For the moment the latest pictures of the construction are posted below with bare minimum captions. More extensive descriptions are being prepared.
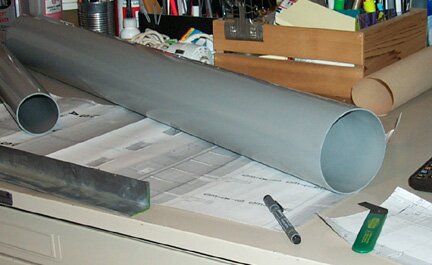
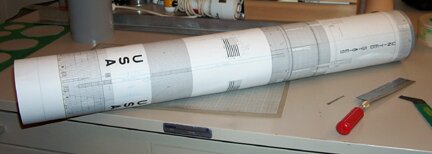
These are the EMA tubes being used in the project. The VT-450, VT-275, and VT-170.
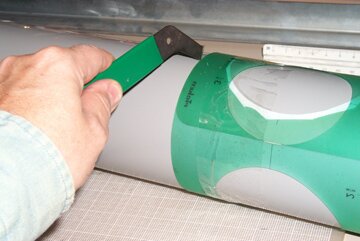
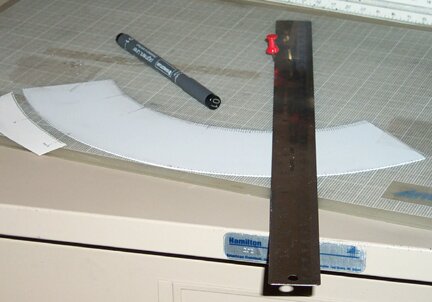
A stiff plastic template serves as a guide for the acrylic scriber. The tube is cut down to 25.03"

The lengthwise split is accomplished with the scriber and an L-angle. Another scribe will mark the strip to be removed, and both scribes will be hit with the razor saw and the edges sanded.
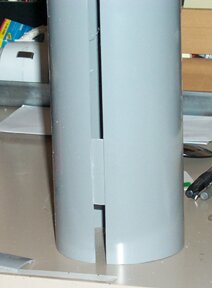
One side of the gap has tabs cemented. The other side and the seam get cemented and the gap closed.
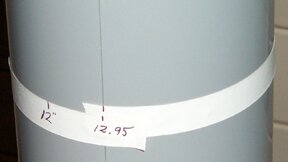
A circumference check insures the tube is indeed 12.95" around.

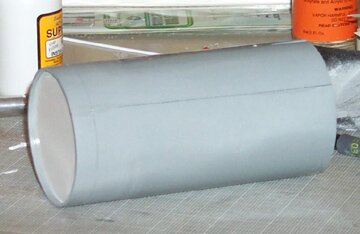
Wet sanding and gap filling and more sanding get the tube smooth. 220, 320, and 400 grit used.
A large-scale xerox of Dave Weeks' S-IC and S-II wraps adorns the tube. It'll be used later to locate details.
The finished S-IVB, done in same manner as S-IC/S-II, with little bit added for the IU, which was scribed at the splice.
Measuring out the S-IVB aft interstage stringers on a wrap of .020 styrene. Bravery and lunacy working together.
The aft interstage wrap joined and cemented, with disks inserted for strength. Joint was a bit too stiff to curve correctly, but was scribed out on the inside and the curve relaxed. Midbody disk was inserted a bit too forcefully and made a very slight bulge, but may not show when stringered and painted. Sanding top and bottom, or adding .015 styrene sheet controlled diameters meeting the tubes.
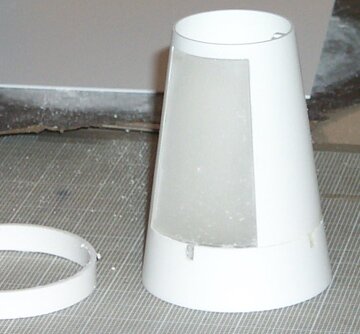
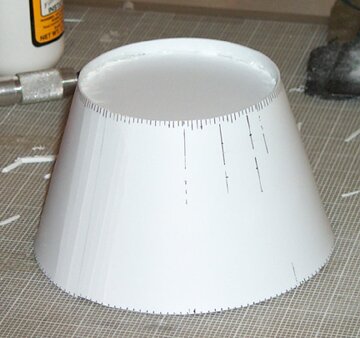
The Revell Kit SLA, with IU sliced off with razor saw after clean scribe. Clear panel glued in place, all surfaces filled and sanded; all details to be rescribed and PE details added.
More to Come.
Entire Contents © 2002 Rick Sternbach